🧊 Wondering Where (and How) to Install Your Wine Cooling Unit?
By Jim Hopper, Wine Cooling Expert
A through-the-wall wine cooling unit offers one of the easiest and most effective ways to control cellar climate—when installed correctly. These systems are especially popular for home wine rooms, basement cellars, and closet conversions.
If you’re using a model like the Breezaire WKL Series, you’ll need to carefully plan wall placement, airflow, and insulation. Poor placement can lead to:
- Reduced cooling efficiency
- Moisture buildup or mold
- Heat trapped behind the unit
- Premature wear on the compressor
This guide walks you through how to install a through-the-wall unit properly—with insights based on real-world cellar builds.
📚 Related Guide:
👉 Wine Cellar Installation Guide: How to Design & Cool with Breezaire USA →
1. What Is a Through-the-Wall Wine Cooling Unit?

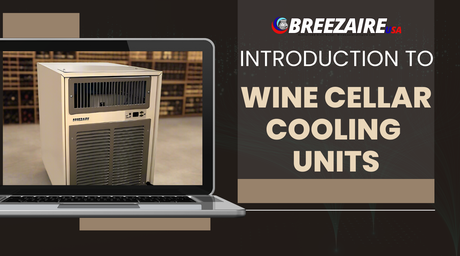
Through-the-wall wine cooling units, such as the Breezaire WKL Series, are self-contained systems. They install directly into a cellar wall and expel heat into an adjacent room.
How They Work:
- Pulls warm air from inside the wine cellar
- Chills and recirculates it to maintain ~55°F
- Vents heat into the room behind the wall
Benefits:
- No external condensers or refrigerant lines
- Ideal for DIYers and small home builds
- Simple maintenance and lower cost
✅ See Breezaire WKL Wine Cooling Units →
2. How to Choose the Best Wall for Your Wine Cooling System
✅ Interior Wall Only
Install into a wall that separates your cellar from a utility space, garage, or hall. Avoid exterior walls that face temperature swings or direct sunlight.
✅ Exhaust Room Requirements
The room behind your unit must:
- Be well-ventilated
- Remain under 80°F year-round
- Be as large or larger than the cellar
- Allow free airflow (no sealed closets or tight crawlspaces)
✅ Electrical Access
You’ll need a dedicated 115V outlet on its own 15-amp breaker. Avoid extension cords, surge strips, or shared circuits.
3. Wall Preparation: Frame, Insulate, Seal

A successful cooling system starts inside your wall:
🔧 Framing the Opening
Follow your cooler’s cut-out guide. Breezaire WKL units require framed dimensions based on the model (WKL 1060–8000). Use pressure-treated lumber for framing.
❄️ Add Insulation
Insulate the wall cavity with R-13 or better to prevent heat gain and condensation.
💧 Vapor Barrier Application
Install a 6-mil poly vapor barrier on the warm side (the exhaust side). It prevents humid air from reaching your insulation or interior walls.
4. Install the Unit (Step-by-Step Overview)
Once your wall is ready, installation takes less than 2 hours. Here's a quick breakdown:
| Step | What to Do | Pro Tip |
|---|---|---|
| 1 | Slide the unit in from the warm side | Use a helper for stability |
| 2 | Center and level it | Leveling prevents drainage issues |
| 3 | Seal all edges | Use foam gasket or weatherproof sealant |
| 4 | Secure with mounting screws | Use all flange holes |
| 5 | Plug into outlet and test | Run at 55°F for 24 hours |
⚠️ Always follow your unit’s official manual for model-specific instructions.
5. Use Case Examples: Which Wall Works Best?

🍷 Basement Wine Cellar
Use a wall that connects to a utility room or mechanical space. These are naturally ventilated and easy to access.
🏠 Interior Home Wine Room
Mount the cooler into a hallway or closet-adjacent wall. Just avoid locations near bedrooms to reduce sound exposure.
🚪 Closet Wine Cellar
For tight conversions, place the unit near the top rear wall and ensure airflow is available behind it (vent into garage or hallway if possible).
6. Installation Mistakes to Avoid
| Mistake | Why It’s a Problem |
|---|---|
| Exterior wall install | Affects temperature and lifespan |
| Poor insulation | Leads to sweating, mold, and heat gain |
| Sealed exhaust room | Causes overheating and failure |
| Shared power circuits | Inconsistent performance and breaker trips |
| Missing vapor barrier | Moisture damage risk |
| Unleveled install | Condensation drainage issues |
✅ Conclusion: Wall Placement Makes or Breaks Your Cooling

Through-the-wall units—like those in the Breezaire WKL Series—are easy to install and maintain when done right. But it all starts with choosing the right wall and preparing it properly.
You’ve invested in your wine collection. Don’t risk it with a poor install. Instead, take the time to insulate, seal, and mount your cooling unit the right way.
🔗 Explore Breezaire Units →
📞 Call Us: 1 (800) 702-1381
📧 Email: support@breezaireusa.com


